I have always loved the look of dream catchers and wanted to make one myself but knew I didn’t have the time or energy to learn to create the intricate knots and weaving required for them so I decided to get creative with it. By simply overlapping several strands of yarn and attaching them to a hoop, I was able to get the look of a dream catcher without all the stress of knotting and symmetry.
I am also a huge fan of multi use items so I love that this can be used as a wall hanging on its own or as a way to display my kids’ artwork. They can easily clip finished drawing or crafts to the yarn and display it proudly.
Be sure to check back in a couple weeks for a few other ways to use this dream catcher in multiple ways. I am working on an amazing “bucket list” display as well as a Christmas advent calendar all using the dream catcher from this project!
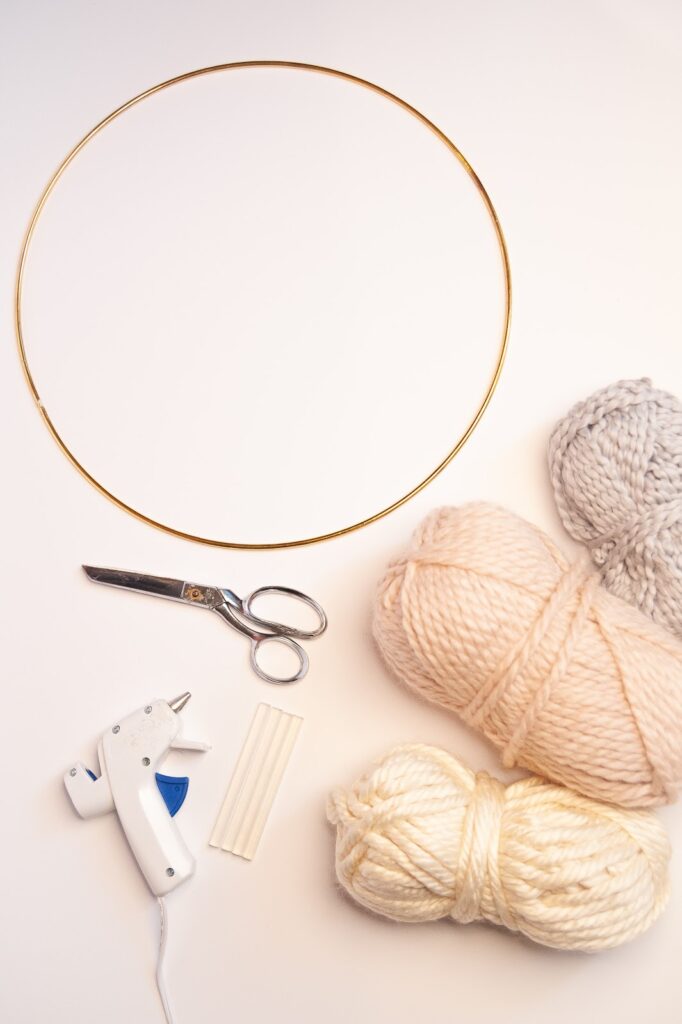
You will need:
- Large metal hoop (I found this at the craft store for around $5)
- Three skeins of yarn in coordinating colors (I prefer to use various textures to give it a more organic feel but you could use all of the same variety as well)
- Hot glue gun and glue
- Scissors
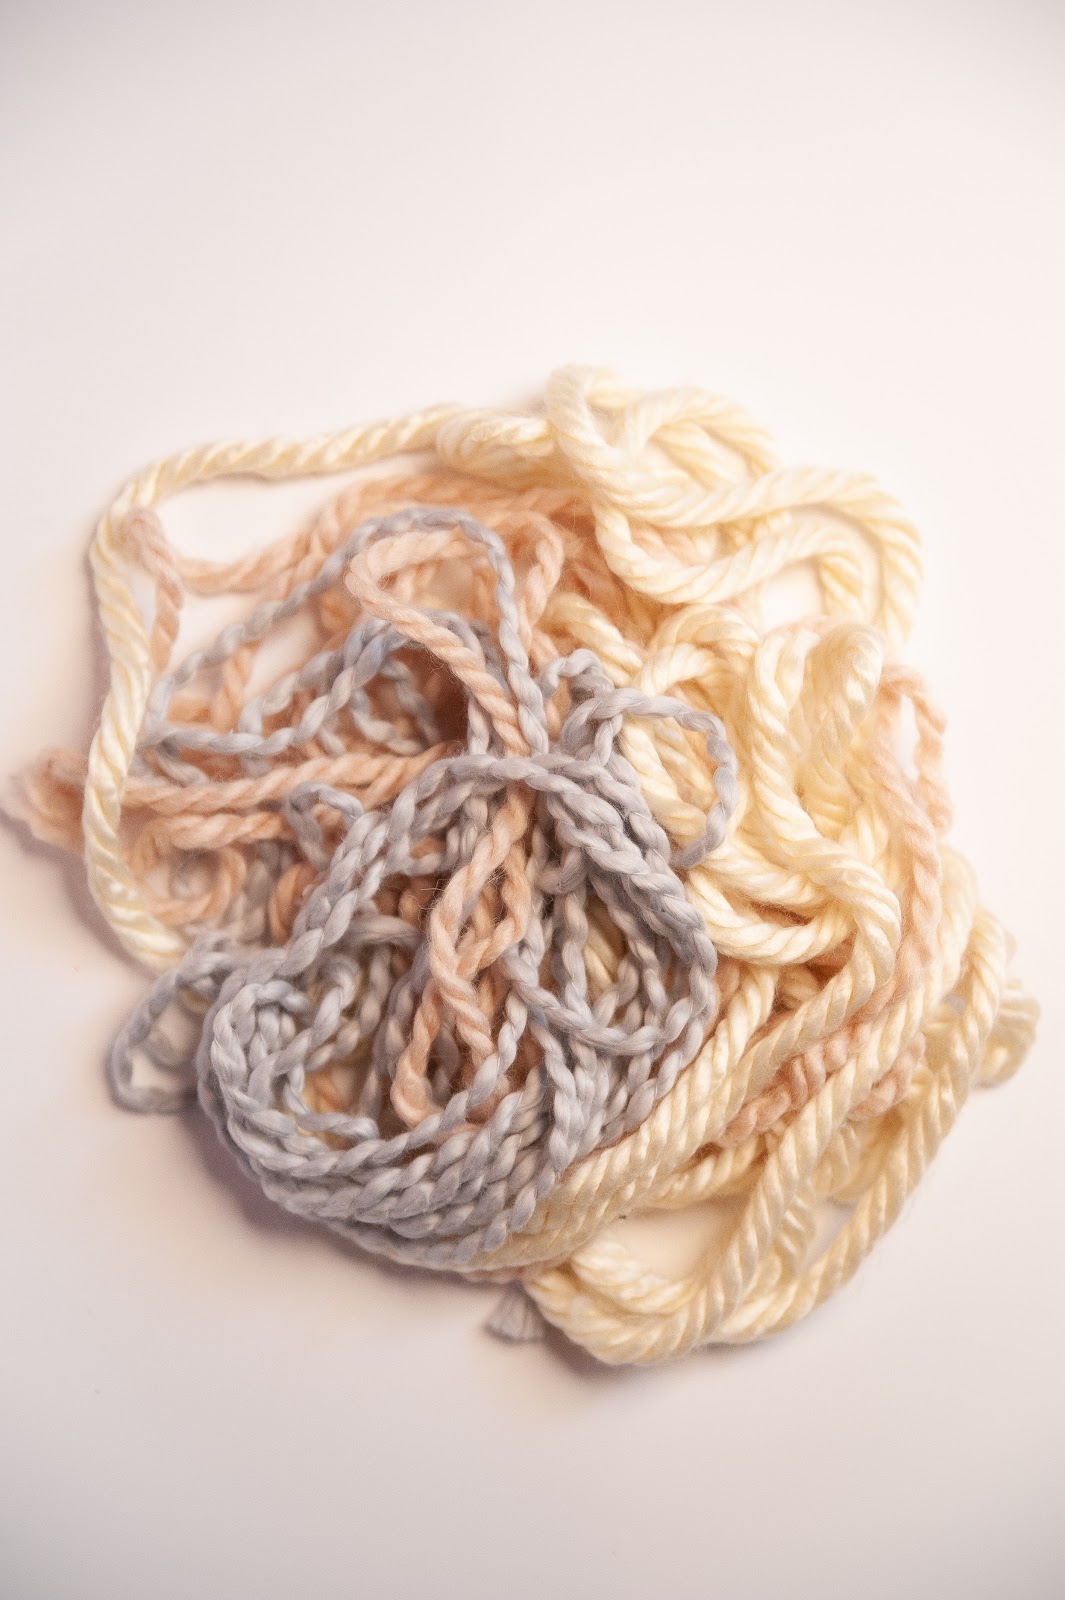
1. Cut two 10’ stands of each color of yarn. This will seem like a LOT but trust me, you will need a lot of yarn to wrap properly.
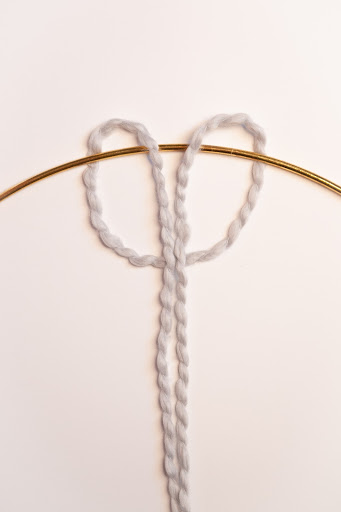
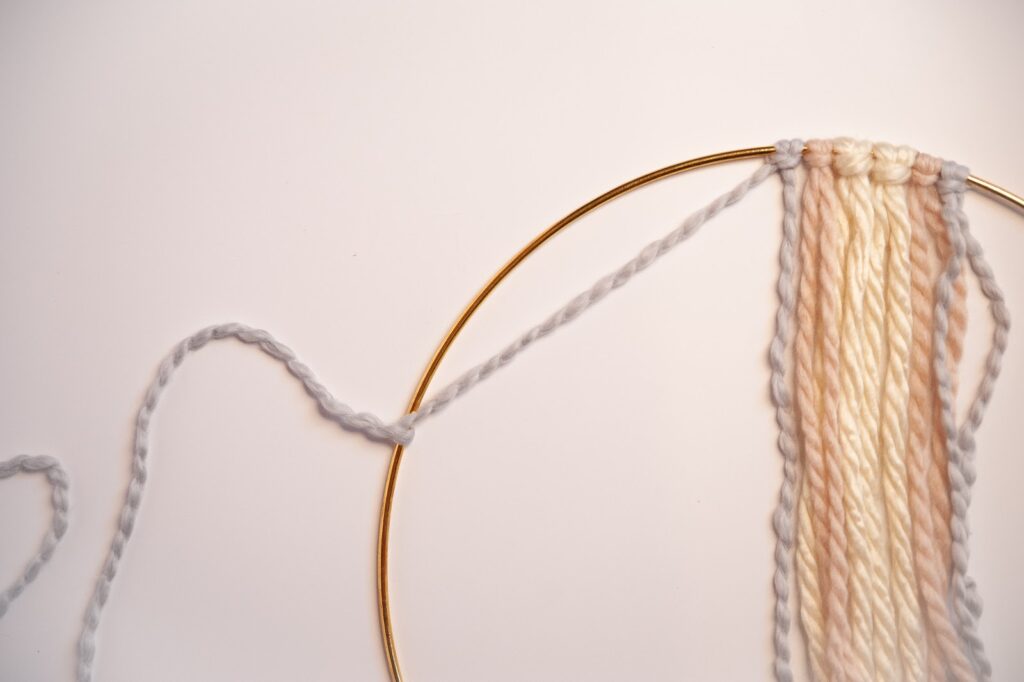
2. Next you will need to create a Lark’s Head knot to attach the yarn to the hoop. This is a relatively simple knot to learn so stay with me. Take one strand of yarn and fold it in half making sure the ends are even. Lay the metal hoop on the table and put your loop of yarn over the hoop. Now fold the loop under the metal hoop with the loose strand on top. Lastly, pull the stands through the loop and pull it tight.
3. You will then continue creating the Lark’s Head knot for all the strands of yarn. You can choose to attach your strands in whatever order you would like. Once they are attached, use a little dollop of hot glue on the back of the hoop to make sure the yarn is secure and doesn’t slide around. (This is important and will make your life much easier in the following steps!)
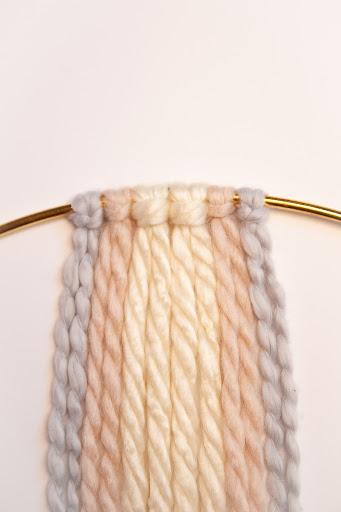
4. Now comes the fun part…wrapping! You now will have 12 individual strands of yarn to work with. Starting with the strand on the far left, you will pull tightly to an area on the hoop and wrap it around the hoop adding a little dollop of hot glue to securely attach the yarn.
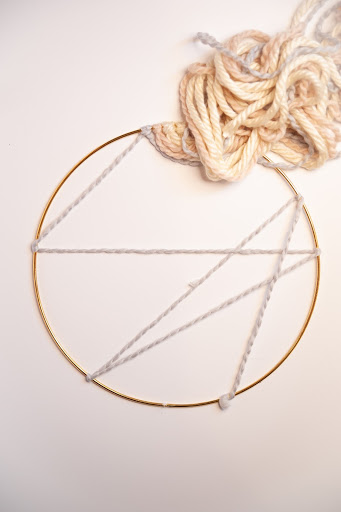
Continue wrapping this strand of yarn back and forth across the hoop, pulling tightly and gluing in place. You will want your strands to always end at the bottom of the hoop so keep that in mind. Don’t worry about having little bits of yarn leftover at the bottom. We will fix that in a later step. Once you have one strand completed, it should look like this.
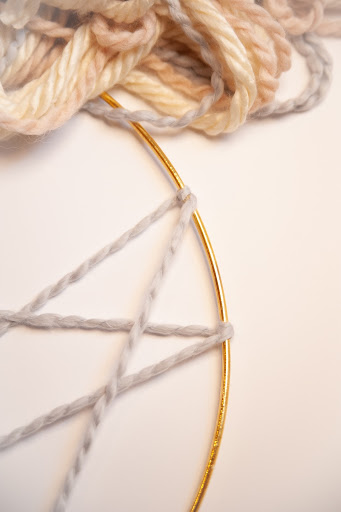
5. Continue this method with all the remaining strands of yarn. You will want to weave the yarn under and over various secured strands as you go to give the proper weaving effect. Just remember to always pull the yarn tightly and secure it with a dollop of hot glue each time.
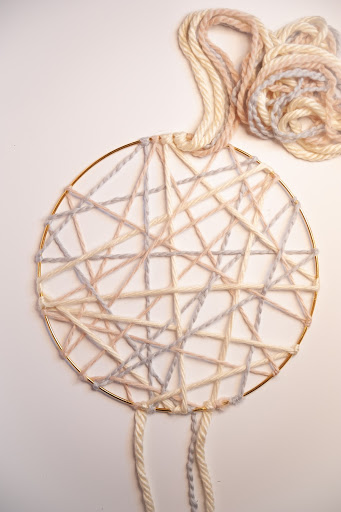
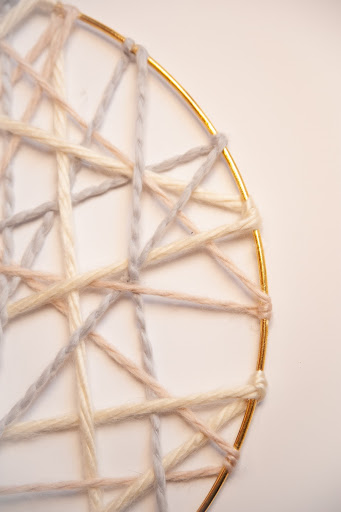
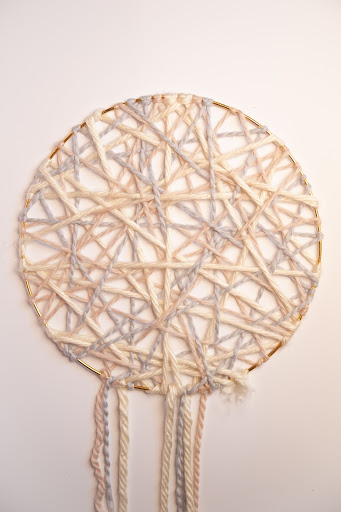
When you have completed the weaving of all 12 strands it should look something like this. Remember, yours will not look exactly the same as mine as this is all done randomly. Just make sure all your strands are pulled tightly and all end up at the bottom of the ring.

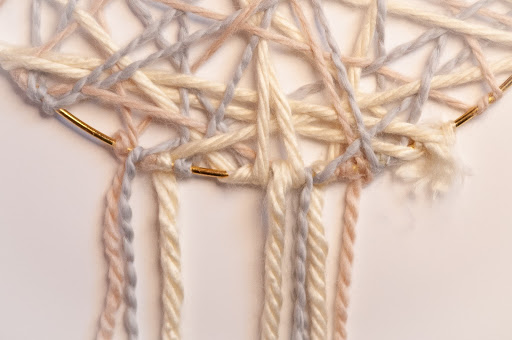
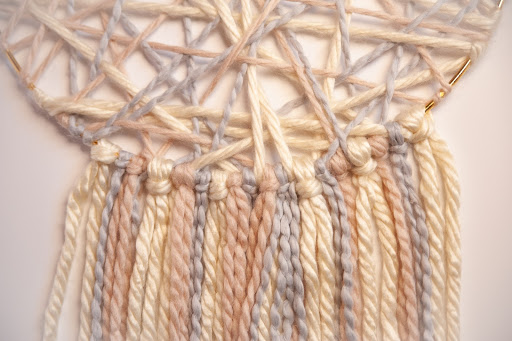
6. Now that we have completed all the weaving and wrapping, we are going to deal with all those leftover pieces of yarn at the bottom. You are going to want to cut six 6’ strands of yarn from each color. You will end up with 18 strands of 6’ of yarn. We are then going to attach them to the bottom of the hoop with the Lark’s Head knot again making sure to cover up any random strands leftover from the weaving. You can attach them in any order you like.
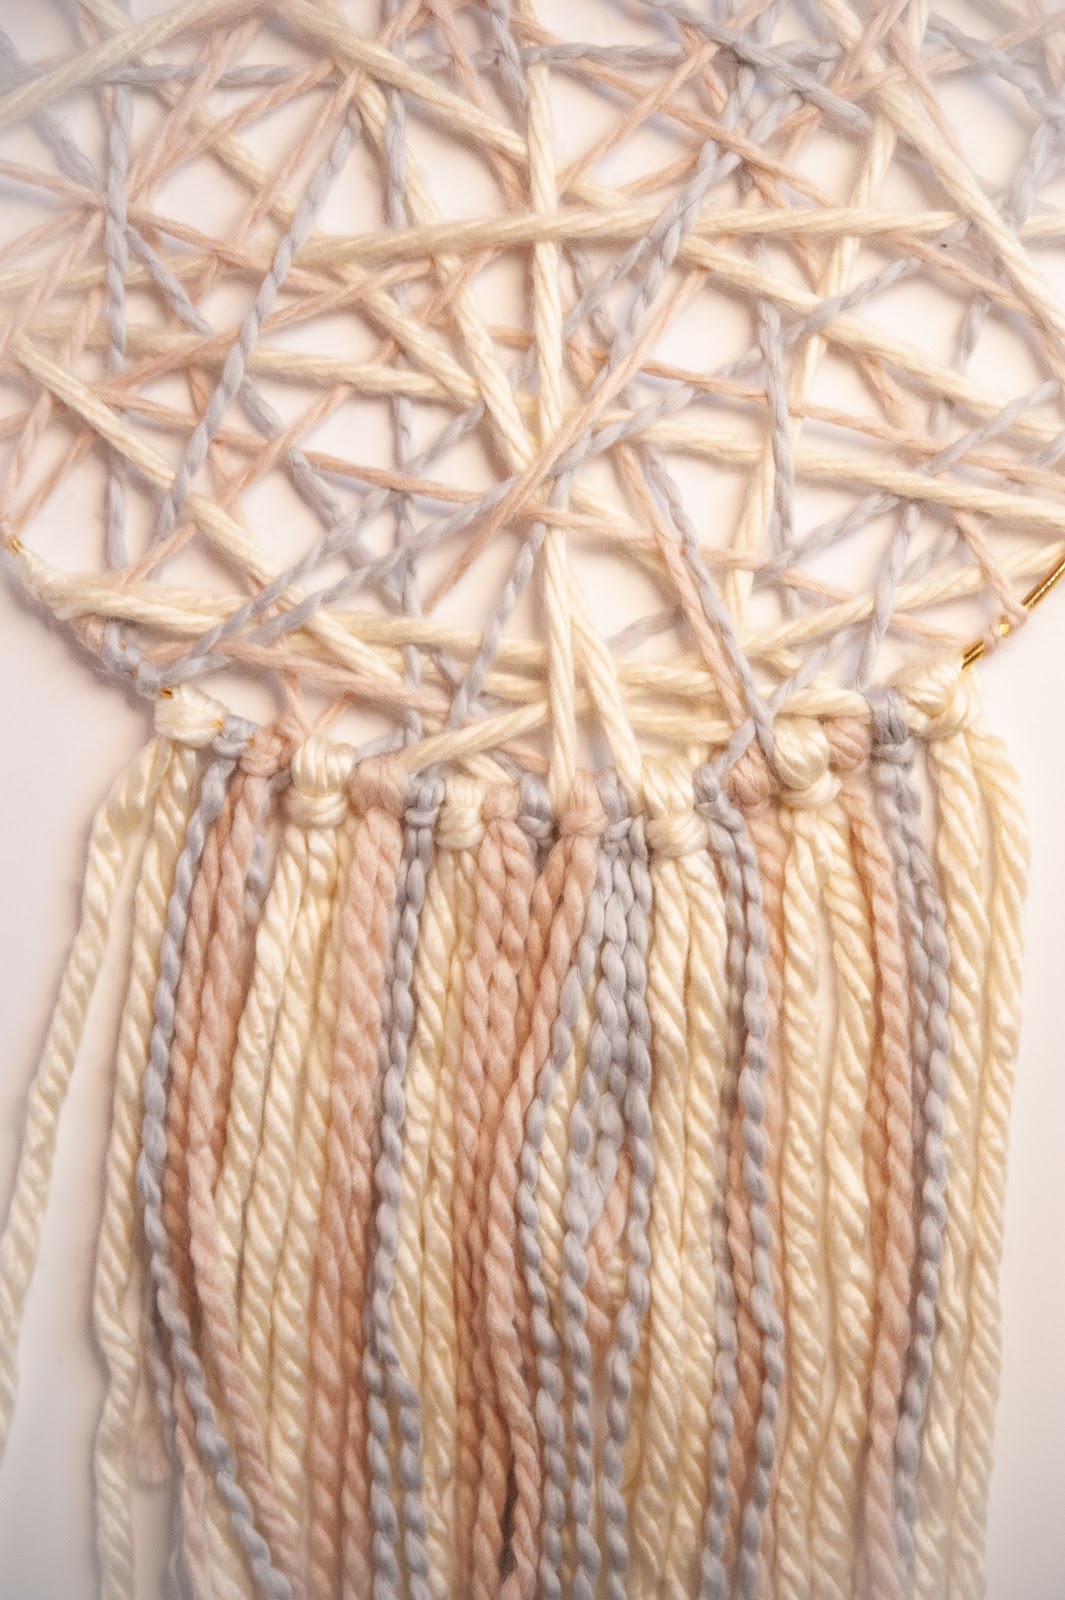
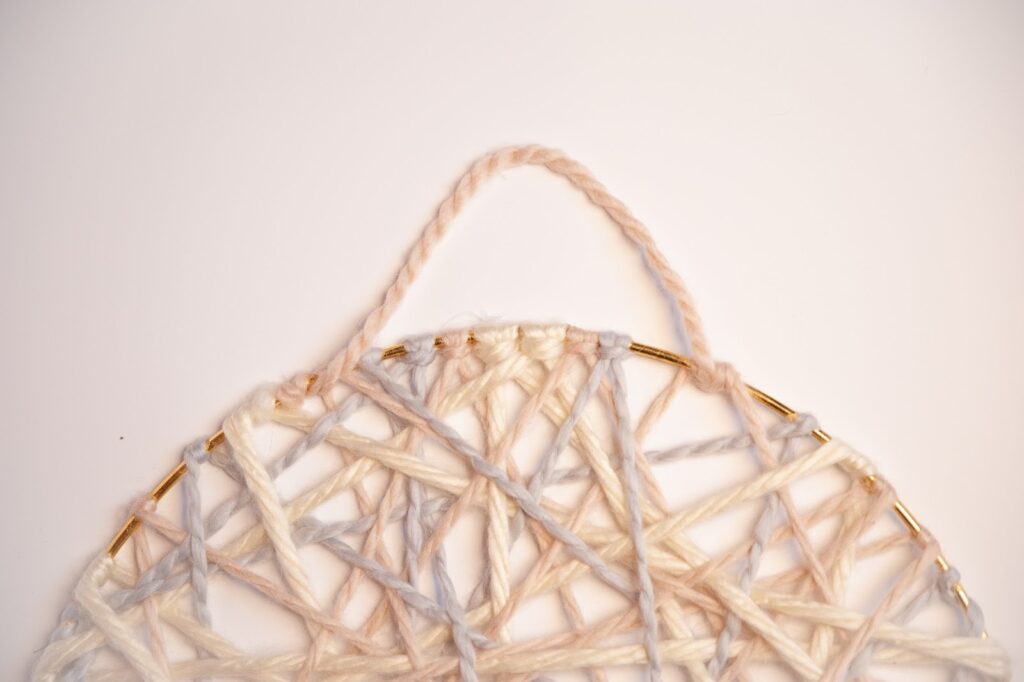
7. Lastly, we need to attach a small piece of yarn to the top to hang the dream catcher. Cut an 8” strand of yarn, then wrap and hot glue it to the top of the hoop.
Now you are ready to hang your dream catcher! I used a small command hook to attach it to the wall. It looks amazing on its own or as a display for your kids’ artwork. Be sure to check back for my updates soon with the bucket list display and Christmas advent calendar additions!