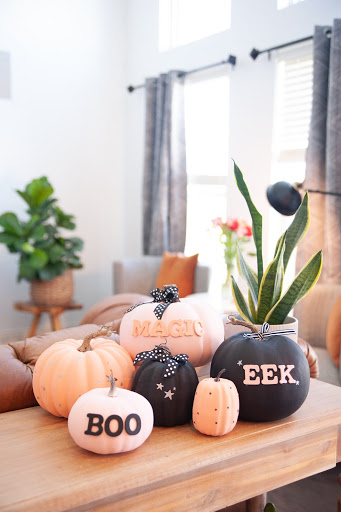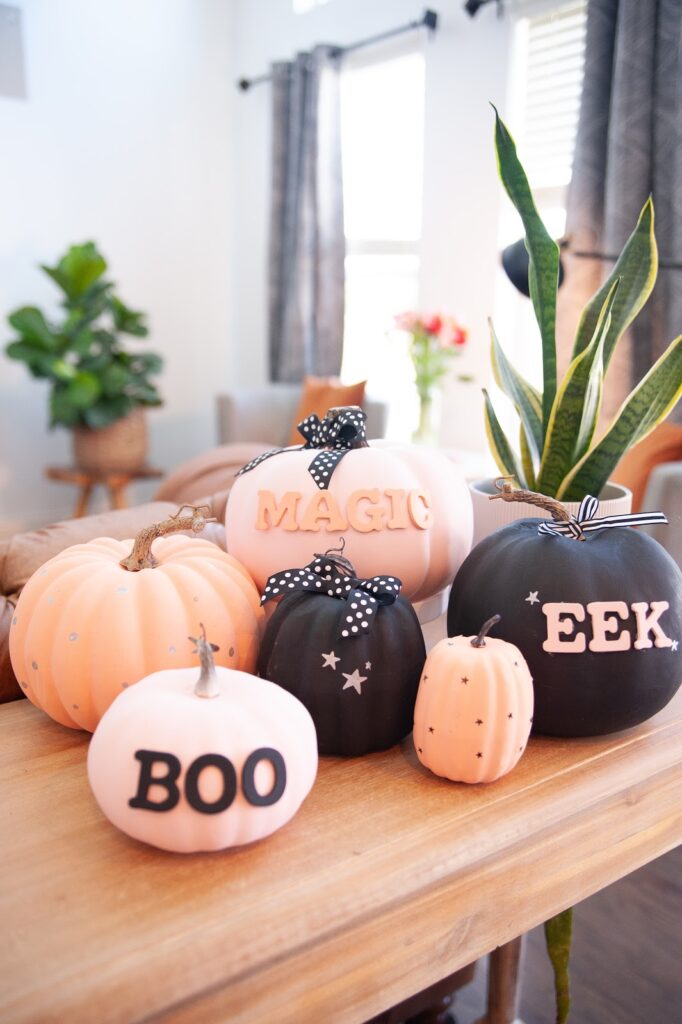
As soon as the first hint of fall arrives in Ohio, I am ready to break out all my fall and Halloween themed decor but I am always looking for ways to update the look and keep it fresh with the style of my home. This year after scouring stores for something that blended well in my living room, I decided to create my own pumpkin arrangement. This project was pretty inexpensive and simple to create…you can even get the kids involved!
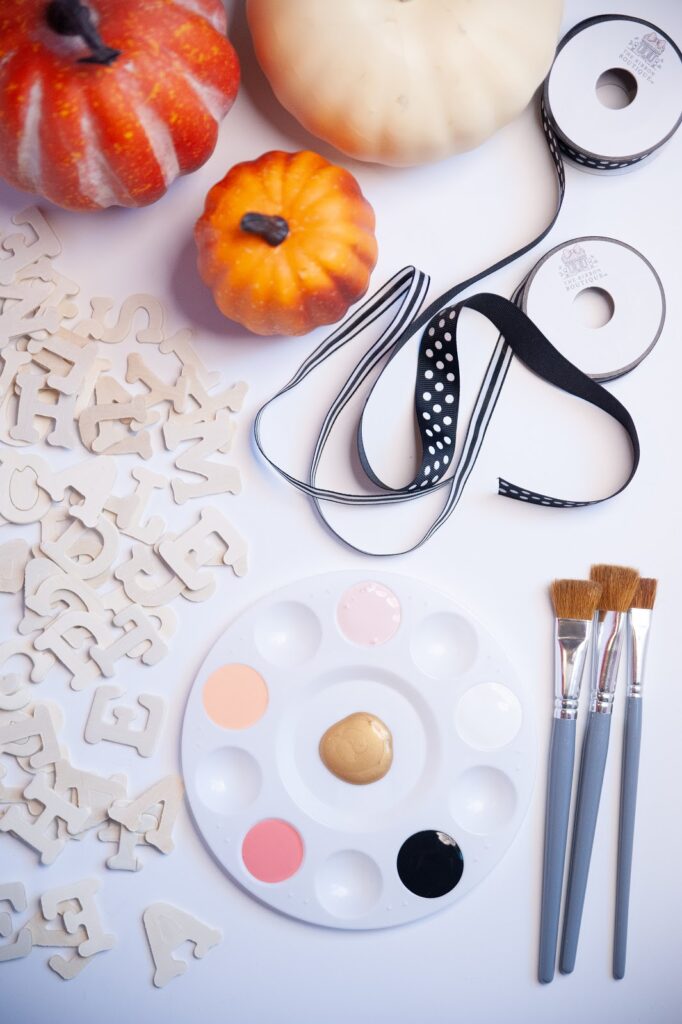
- Pumpkins of various sizes (I got fake ones at Walmart for anywhere from $0.98-5.98)
- Craft paint to match your decor (I suggest 3-5 paint colors that coordinate well together. You can find these at a craft store for around $1 each)
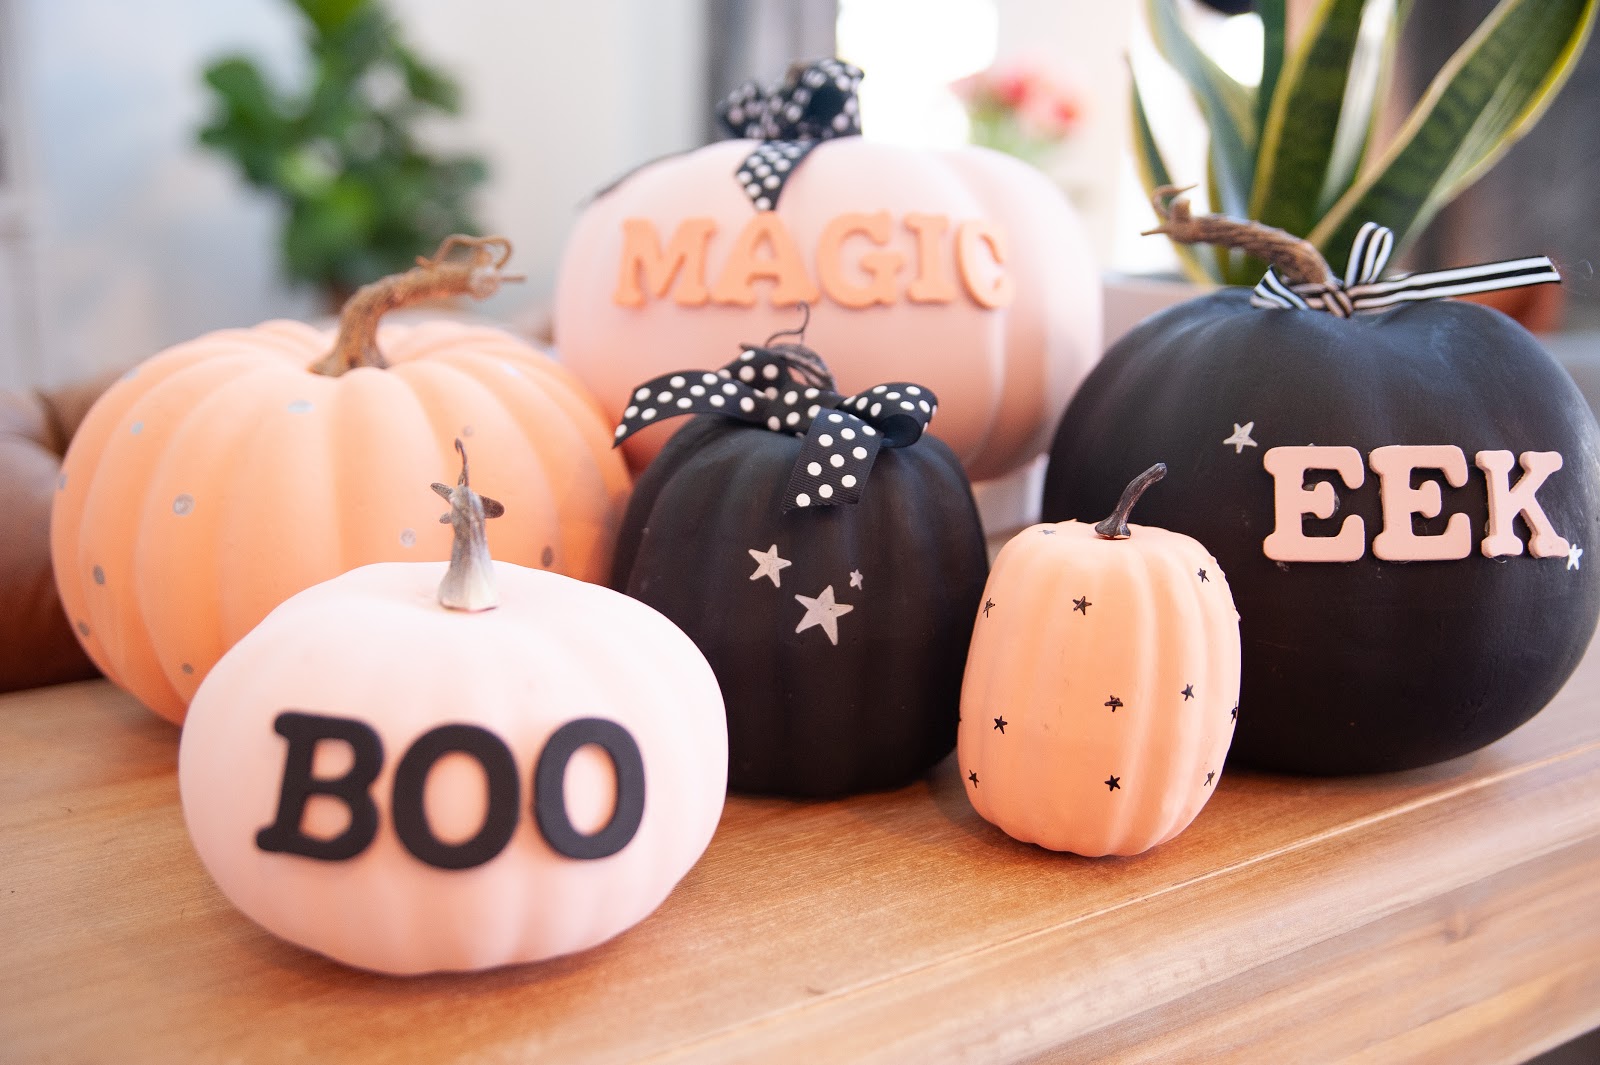
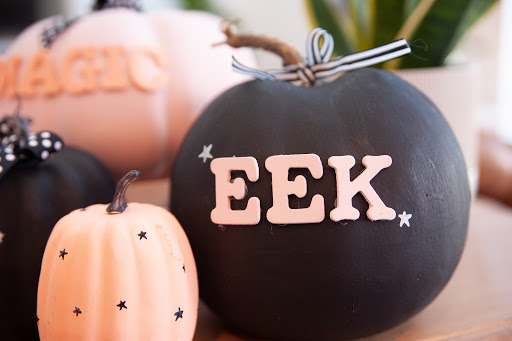
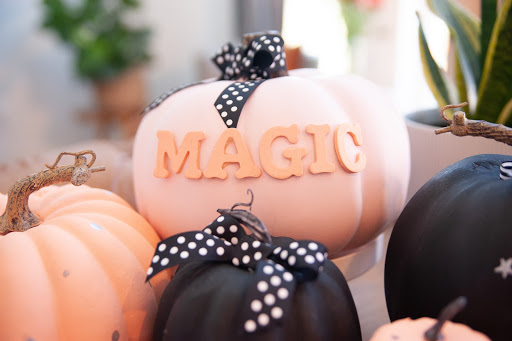
- Chipboard letters (You will want to come up with what words you will be spelling out prior to purchasing the letters to make sure you have enough. I was able to spell BOO, MAGIC, and EEK with one bag of letters for $4.99)
- Ribbon for bows
- Paint Brushes
- Hot glue and glue sticks
- Paint markers or metallic sharpies
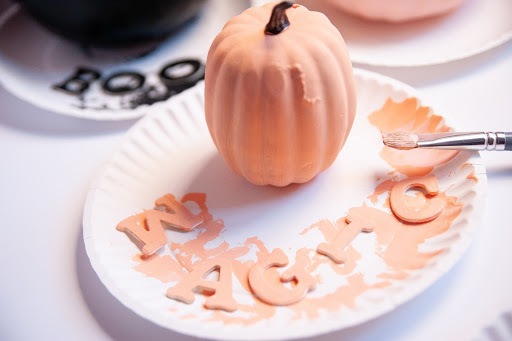
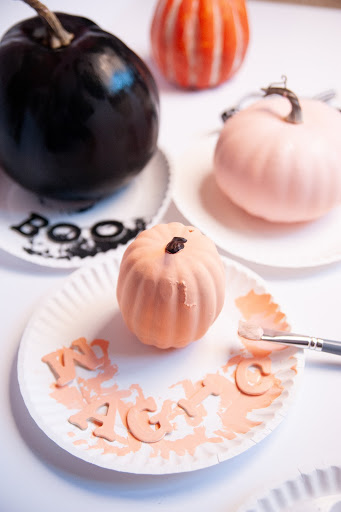
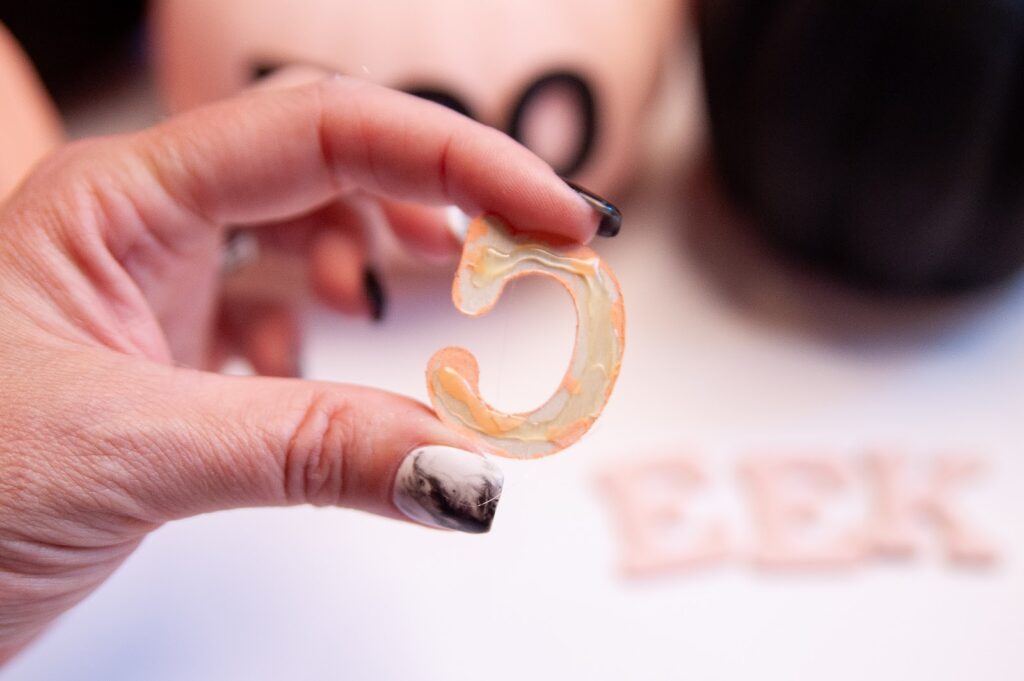
1. First, you will want to paint your pumpkins and letters. This step is super easy because it doesn’t have to be perfect. I found that I needed two coats of paint for most of my pumpkins but craft paint dries super quickly so it didn’t take long at all. This is a perfect step to get the kids involved and let them go to town.
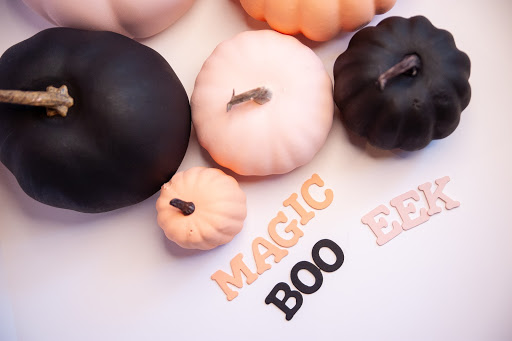
2. Once all your pumpkins and letters are dry, you are going to hot glue the letters to a few of the pumpkins. I preferred to use contrasting colors on mine but you could use the same color pumpkin and letters for a more subtle monochromatic look. There is no right or wrong way so just get creative with it. If the kids are helping, be sure to be careful with the hot glue as it does get hot and can burn little fingers.
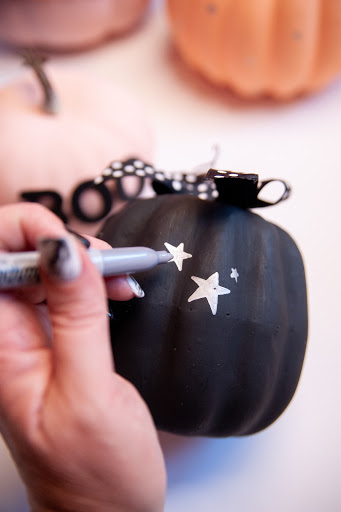
3. The next step was my favorite part. I used paint markers to add accents to the pumpkins. Clusters of stars, mini stars, polka dots…anything goes really. Again, this doesn’t have to be perfect so just have fun with it!
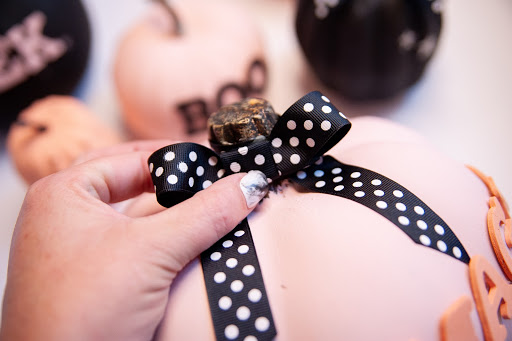
4. Next, grab that ribbon and add some accents to a few of the pumpkins. I found that wrapping the ribbon around and hot gluing it in place before tying the bow worked best. Again, this doesn’t have to be perfect and you can skip this step if bows and ribbons aren’t your thing.
That’s it! Now, step back and admire your gorgeous pumpkins. I personally love mine clustered together in one spot but you can place them throughout your house as you would like. I used fake pumpkins so they would last for several years but you could also do this with real pumpkins from the pumpkin patch!